Dec 21, 2009 | Hometastic Goodness
I just thought I’d see how many adjectives I could fit into that title. Should I have thrown in a few more for good measure? Anyway…I got crafty again yesterday. And I thought I’d tell you about it in case you felt like getting crafty, too! My mother-in-law was hoping to get a wreath or something festive to put on the door, and with the general budget-keeping and crafty nature I’ve found myself in lately I said, “Why don’t we make something!?!”
I suggested using some ribbon or bows and eventually found myself starting at a circle you can arrange flowers in (please tell me what to call it so I can update this post and not sound like a ninnymuggins), a bag of ribbons and bows, some tape, and no clue what I was going to do. Here are said items…

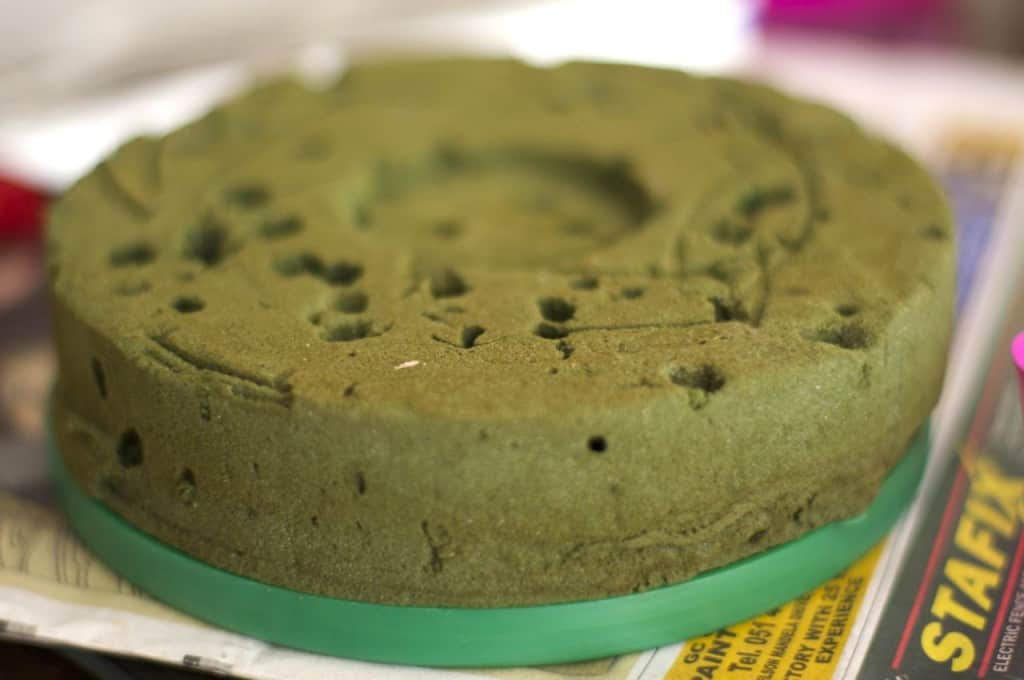
I stared at everything for a while and then decided, “Well, I’ll just get started and see what happens.” I started by taping a shiny piece of string to the base so that it would be easy to hang the wreath (pictured later). In the bow bag, I found one of those silvery wrapper things that a store-bought bouquet of flowers comes in. I started cutting it into strips, and then made the delightful discovery that I could cut the edges into a fringe and curl them with scissors the way you curl ribbon on a gift. Â So this became the bottom layer. (I decided to flip the flower sticking thing oasis over since it was easier to tape stuff to the plastic side.)
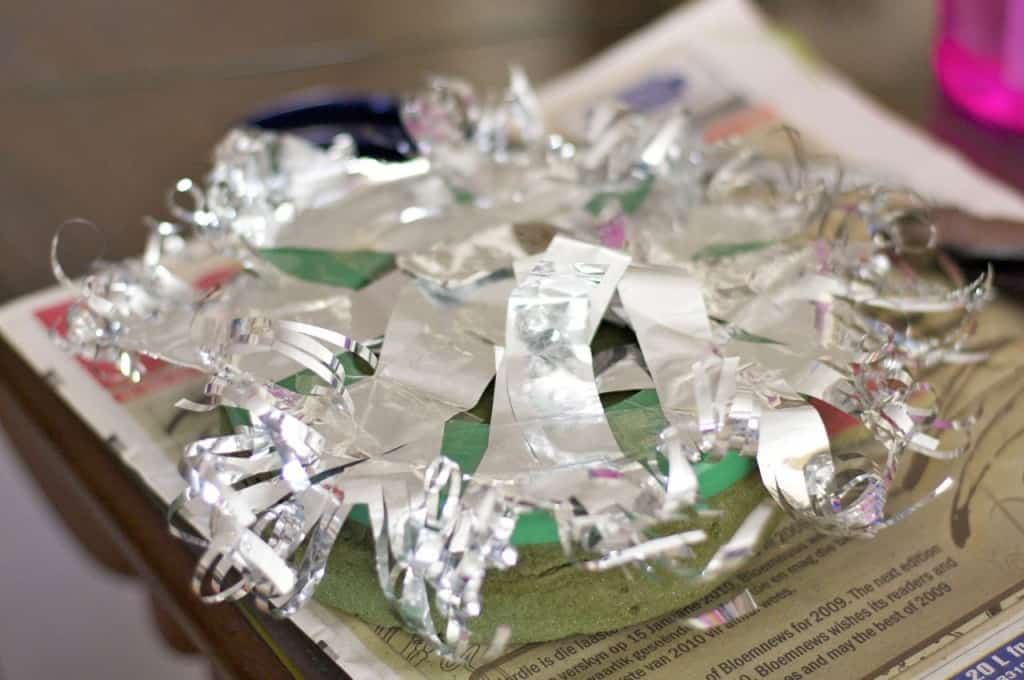
Since Mark and I decorated the tree in a sort of bright-pastel theme, I decided to choose some bows in keeping with the colour scheme. I untied one of the bows (and stabbed my palm with scissors in the process — be careful!) and began layering it around the circle. I suppose it was around this point when I started to think this project had some potential and I started getting excited. 🙂
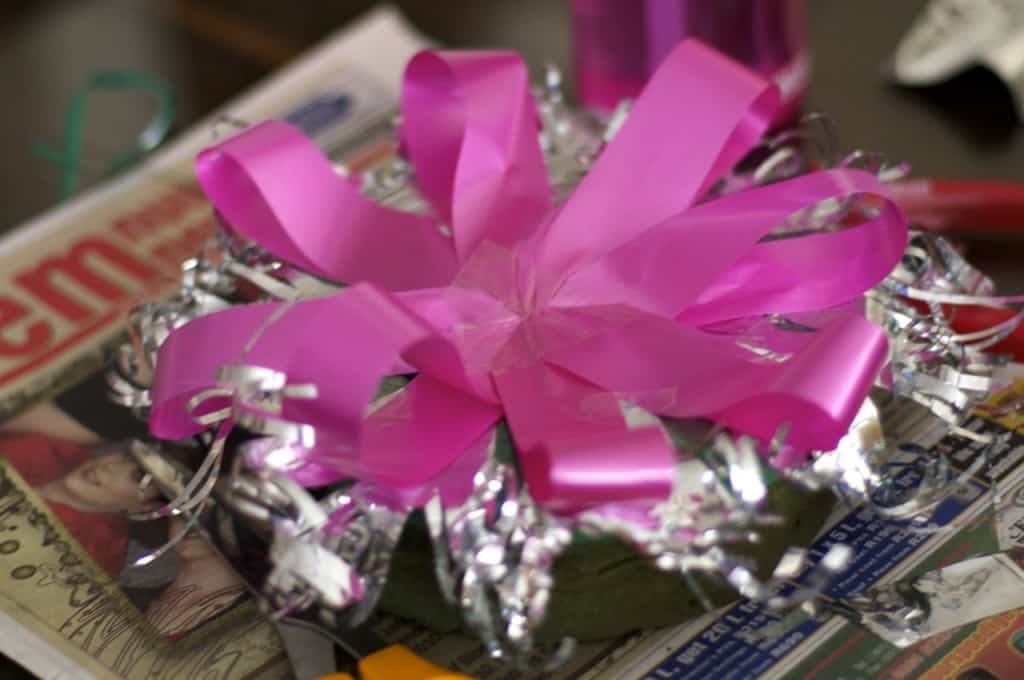
I chose a nice matching green for the next layer, and layered it in the spaces between the pink loops.
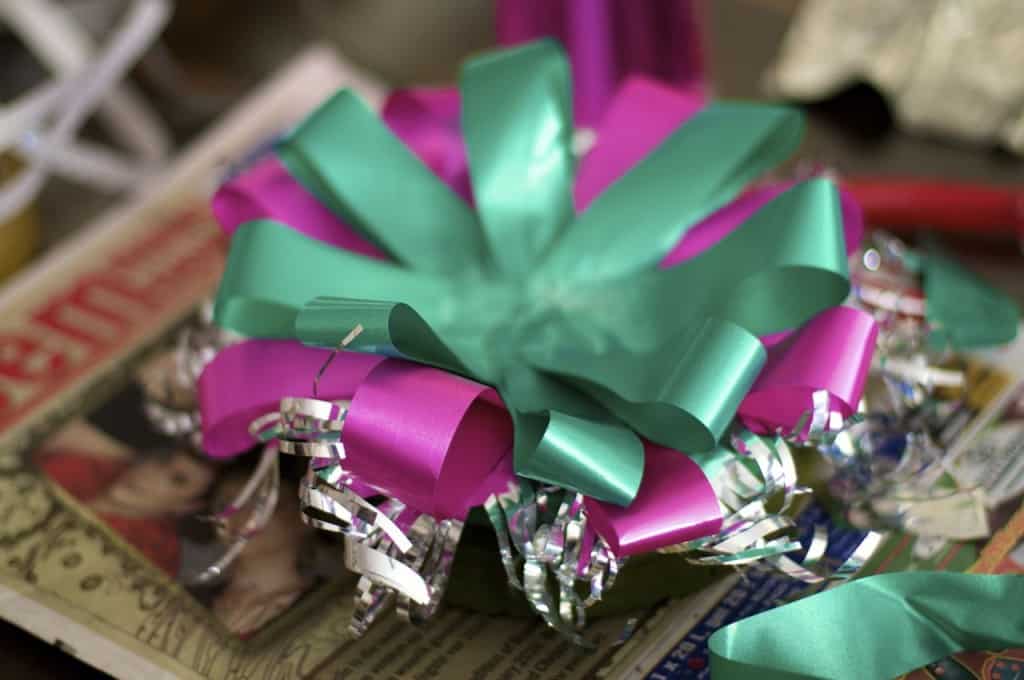
Next I found a ribbon that looked like it would go nicely in the middle. Since it was wire-tied, I poked some holes through the other ribbons into the oasis (Mark has now told me it’s called that) and pushed the bow’s wires through to the other side. I was excited because this bow was really shiny and I love polka-dots.
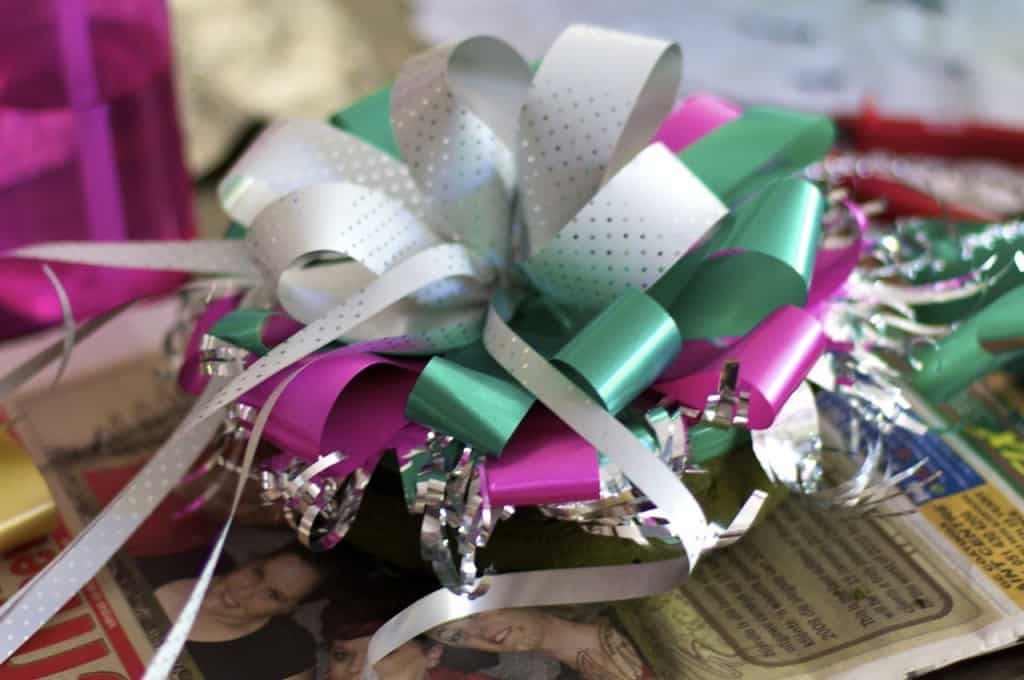
Finally, I decided a few old Christmas ornaments we didn’t put on the tree might add a bit of interest and colour, so I tied them in with one of the strands of the bow that I’d just added. I added a little bit of blue ribbon for a splash of different colour and because the ornaments were kind of rough around the edges. I arrived at this delightful sight…
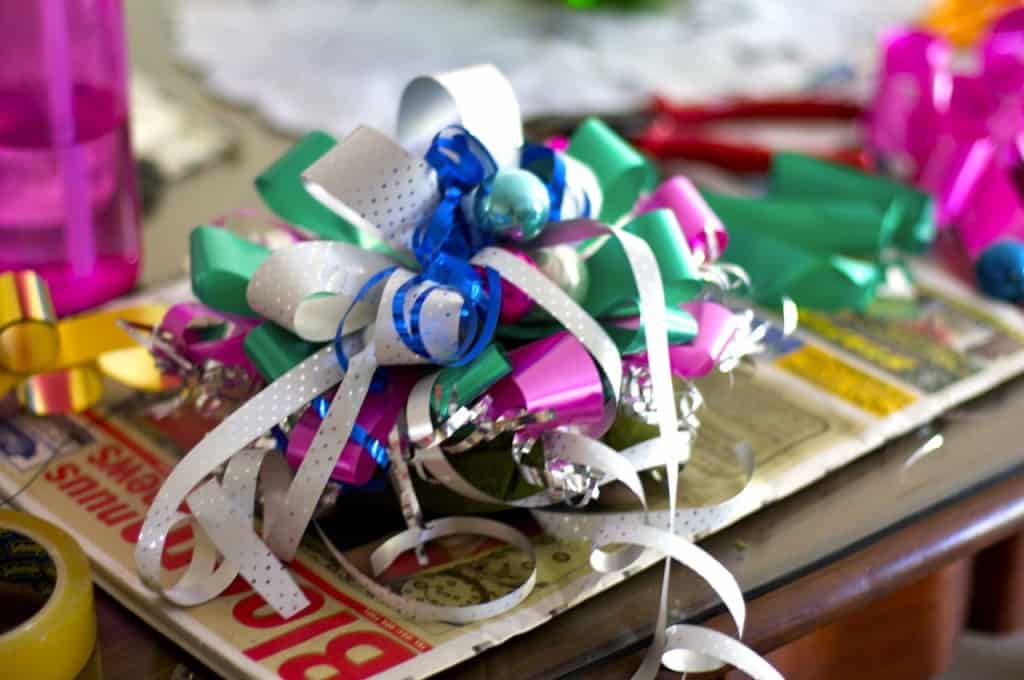
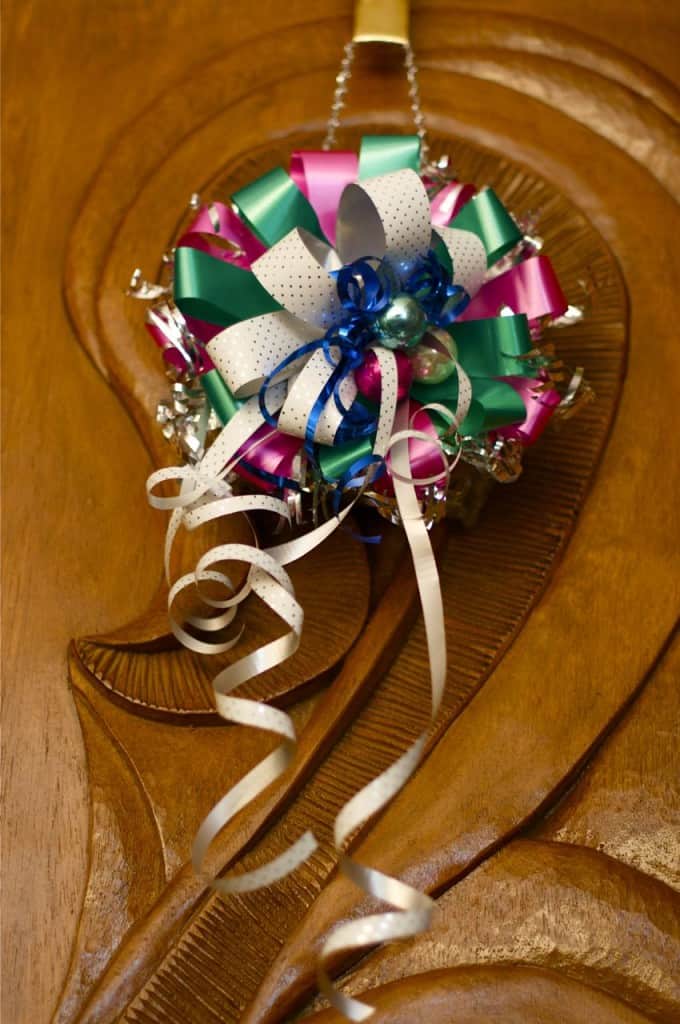
I thought at this point we could add some greenery around the edges, but my mother-in-law liked it just the way it was, and we hung it on the door! I think this would potentially be an adorable (and wonderfully inexpensive) wee gift, that you could put in an interesting container, like a cake tin or a hat box. You might prefer to use some slightly more ‘Christmasy’ colours in your neck of the woods…which I think would be just fine! 🙂
So here’s the final product! If you give it a try yourself, PLEASE let me know!
Nov 27, 2009 | Hometastic Goodness, Stories
There was such a prodigious plethora of stuff being given away when we left Edinburgh I cannot remember who ended up with our Christmas tree. Or just about anything else. Except I remember Agnes’ happy dance when she tried on the pink puffy vest I gave her. But that may have been for the wellies.
Anyway, a very small number of Christmas decorations made it with us from Scotland to South Africa. And when I think about the things I would rather spend money on (like saving up for a dishwasher, please, Lord!) and flights back to North Carolina, I don’t really feel like laying a huge chunk of change into something I’m only going to see one month outta the year.
The other day I was reading a blog I am really enjoying — Balancing Beauty and Bedlam — and came across some party decoration ideas that I decided to “Christmascise” for a little bit more Christmas flavour in this South African flat, sans the costliness. I made some adorable little “pom-poms” and hung some of the Christmas ornaments that did make it here underneath. Here are the basic directions, but you can also check it out on Jen’s blog here. (And check out the Martha Stewart version — posh!)
So. You’re instructed to start out with 8 sheets of tissue paper stacked together. I didn’t have enough of the silver coloured paper, so I just used 6. (It looks a little different, but I like it.)Â And I had even less gold paper, so I decided to cut what I had in half and make two small pom-poms — using 8 small sheets. If the paper is different on each side (mine was) I would alternate which side is facing up.
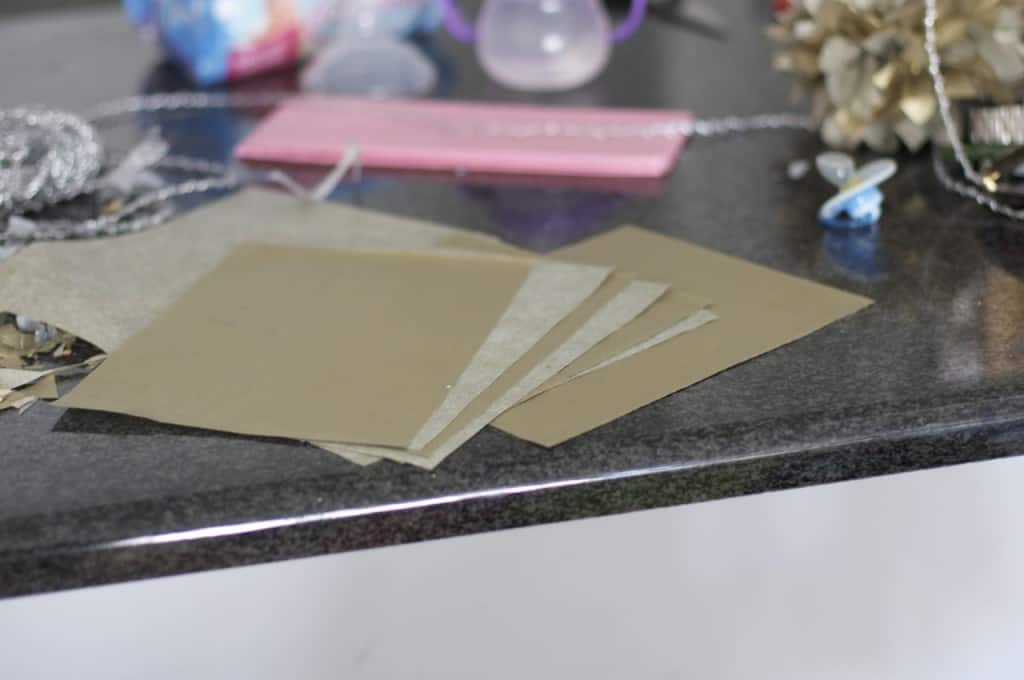
Since my Christmas decorations from Scotland are pink and green and silver, I decided to go with silver and gold pom poms, but red and green tissue paper might make this even more Christmas-tastic.
Next step: fold the paper accordion style, back and forth. Then use a rubber band (or, I used a twist tie because my rubber bands didn’t seem to be the right size) to gently hold the accordion of potential Christmas delight together at the centre. Don’t make it too tight or it may end up looking funky.
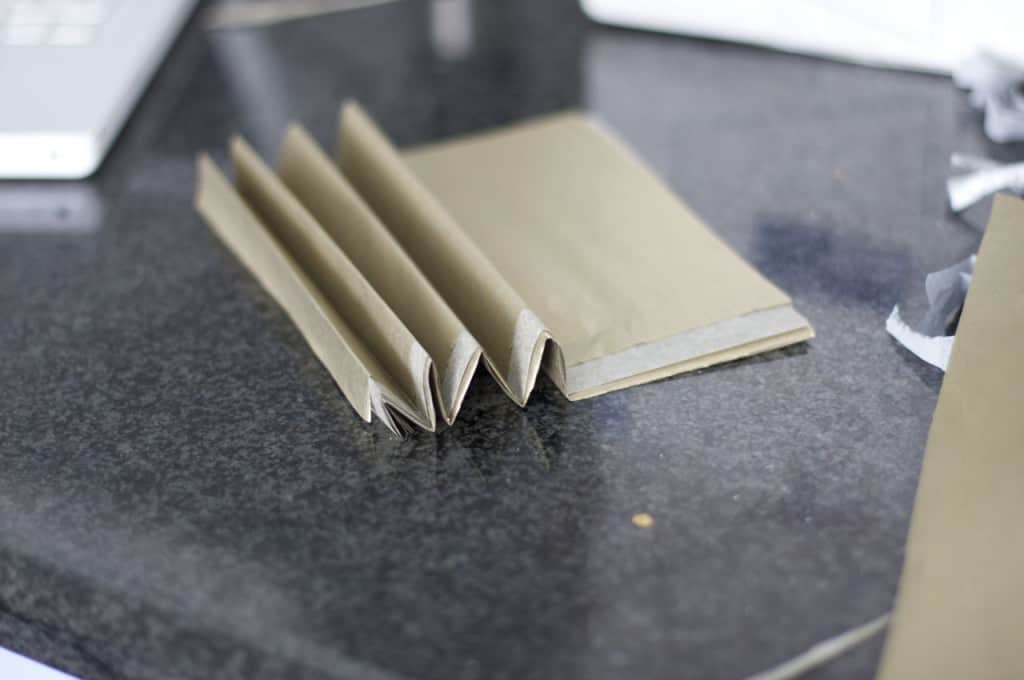
Once it’s nicely squooshed together and banded or twist-tied, round the edges off with some scissors so that it’ll look nicer and more fluffy when finished. 🙂 (For the little gold pom-poms, I cut the edges at sharp angles before I twist-tied them, because I thought it would be cuter and look more like stars. This could seriously rock a Christmas pageant as a cheap Star of Wonder!) Forgive me for not taking enough pictures to give you a play by play of visual instructions. If you need more help, click on Balancing Beauty and Bedlam above!
If you know how you are going to hang your Christmastastic Pom-poms, I’d suggest going ahead and tying your string…fishing line…shoelaces… into your rubber band or twist tie. If you’re planning to hang something from the pom pom, don’t forget to tie a piece in each edge. After you have your tissue paper twist-tied together, your edges are nice and purty, and your string is attached, you simply fan it out and gently pull each sheet away from the centre, first on one side, and then on the other. Fluff it and move things around until it looks how you like it. You should eventually arrive at this:
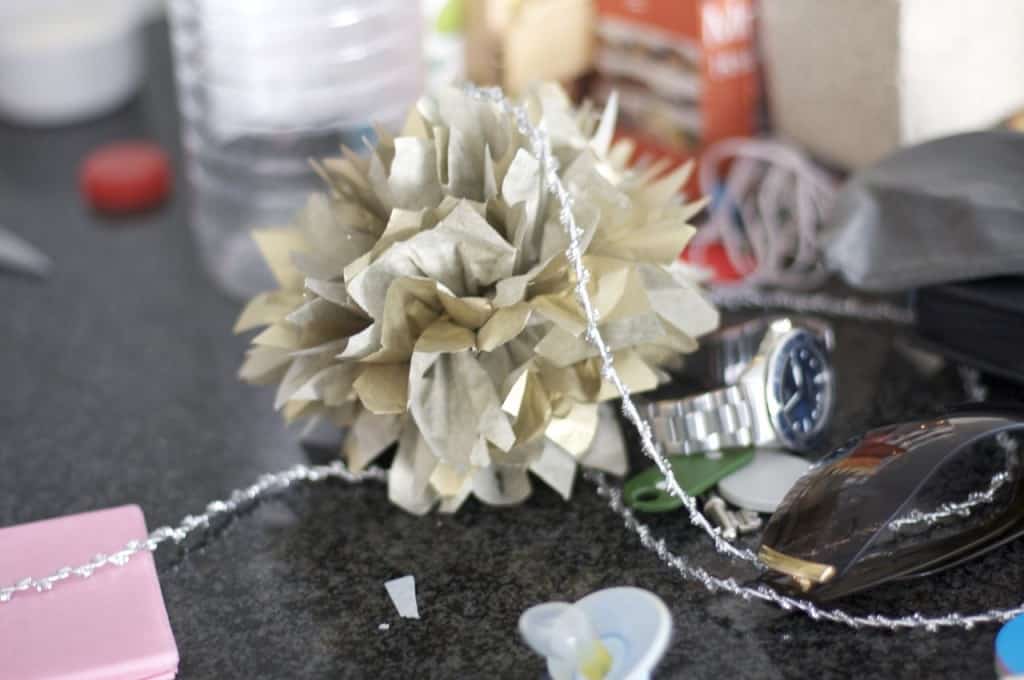
How great and simple is that? I actually had that sassy Christmas decor string from Scotland — I think Miss Heather picked it out, thanks Heather! I thought it came together quite nicely!
Once Mark helped me tape them to the ceiling the Bear woke up from his nap and pointed at them with a “happy grunt”. Hooray for his stamp of approval! Â Here’s the final product:
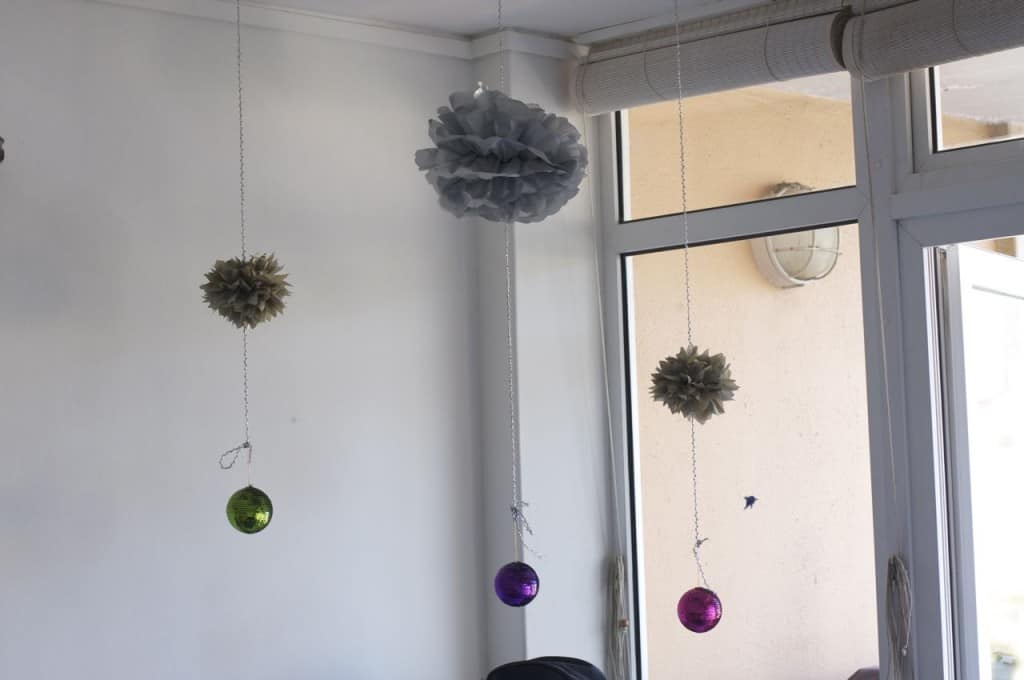
Since they’re near our balcony door, they gently sway in the breeze. When the southeaster picks up…we have to close the door. 🙂 So there’s a cheap and cheerful Christmas-tastic idea for you! If you have any Budget Christmas decor ideas you’d like to share, I’m trying out a new link widget below. Please comment, and add a link with your name and website!
Thanksgiving Festivities have ended…let the Christmas cheer begin!


 I create resources to help people find deeper, more meaningful relationships with God through pursuing, pondering, and prayer. The "Shop" link above will take you to the home of many of the lovely resources I’ve created to help you keep walking one day deeper with Jesus.